How to Scan Negatives Using Gimp
This step-by-step instructions show how to remove the orange map from a negative scan using just Gimp's on-board tools. Behind every small image "hides" a full-screen (800x600) image that shows more detail.
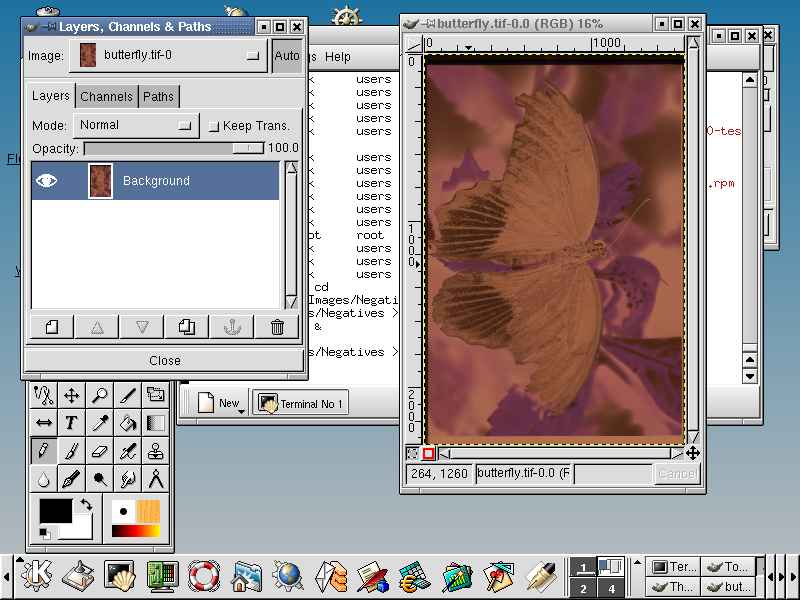
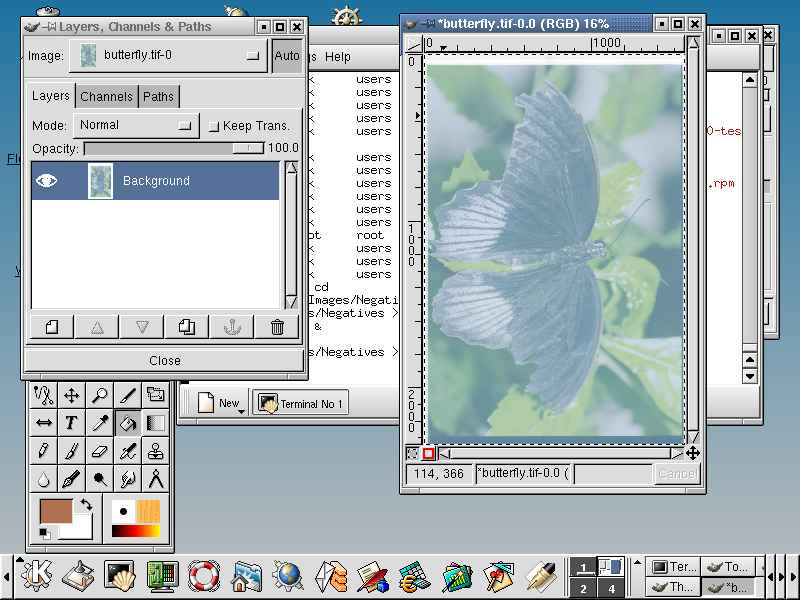
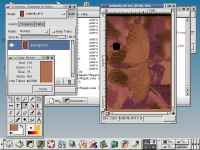
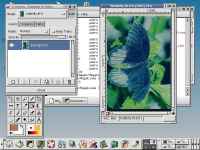
- Load the scan of the negative into Gimp.
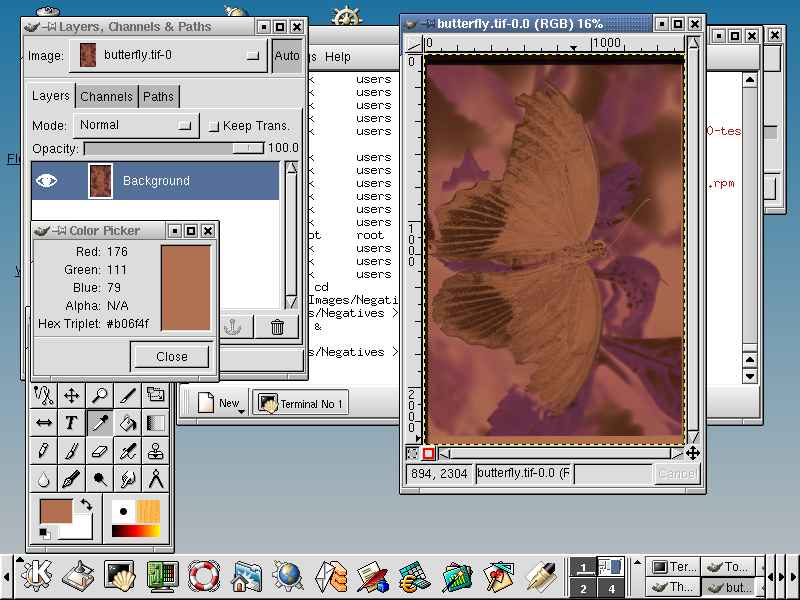
- Use the color picker and find a piece of the orange mask. Meassure
the RGB values of the background. You can select an area of the
background (e.g. in between two negatives) and blurr this area. This
will create a more uniform area of color.
- Create a new layer with the layer tool.
- The new layer will automatically be selected. Do a "Select All" (Ctrl-A). Select "Overlay" as the layer mode.
- Fill the selection with the backround color from step (2) (Shift-B
then click inside the drawing area).
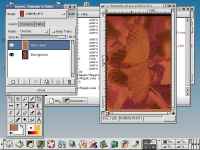
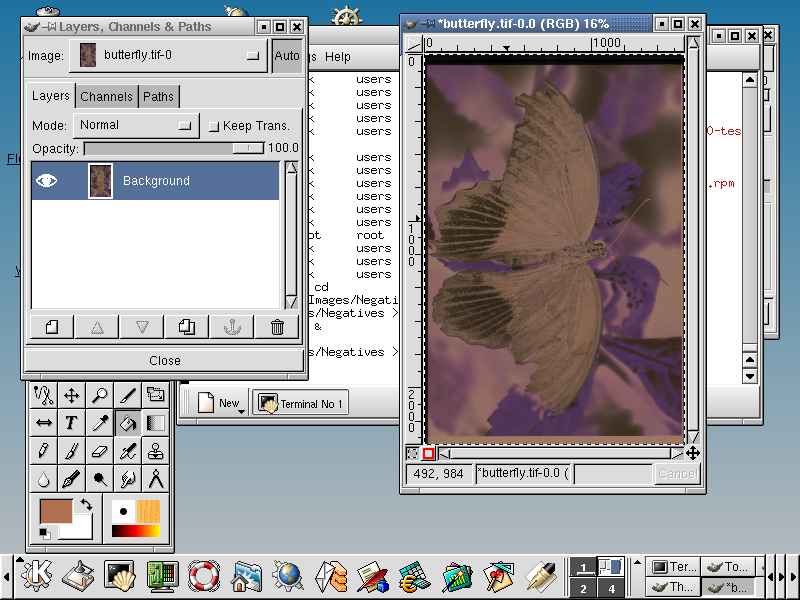
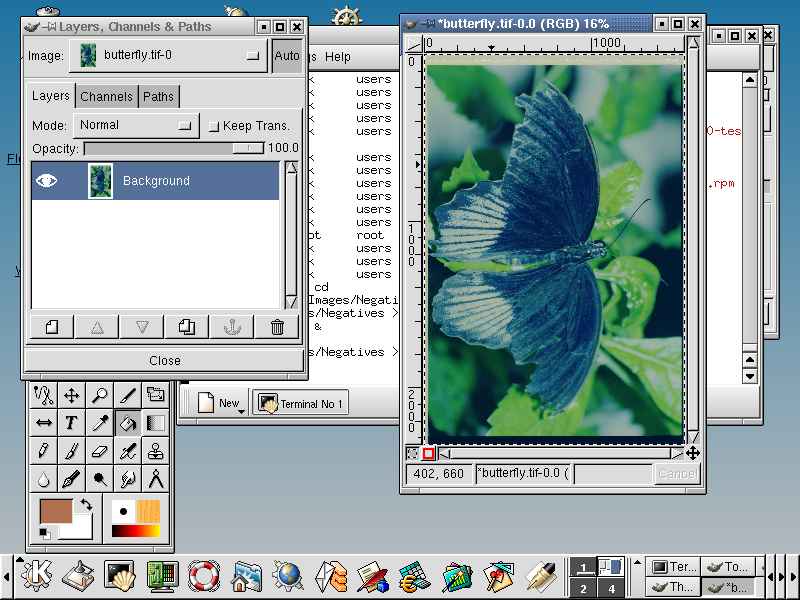
- Invert the new layer using the "Image>Colors>Invert" menu item.
- Merge the visible layers (Ctrl-M)
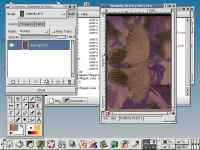
- Invert the merged image using "Image>Colors>Invert"
- Bring up the levels tool and for each color chanel adjust the input levels so that the left and right slider are placed at the edges of the "blob".
- Instead of step 9 you could also try an "Auto Equalize".
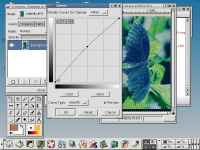
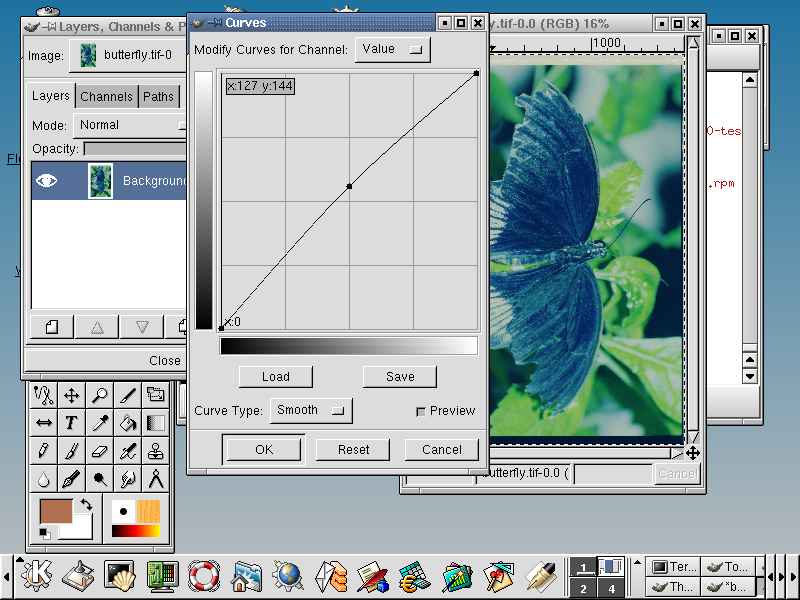
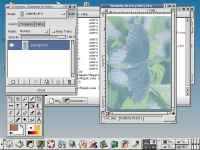
- Use the curve tool and do the fine tuning of the image.